So, you’ve just gotten your hands on an electric bike with hydraulic brakes, but you’re not quite sure how to adjust them properly. Well, fear not, because in this article, we’re going to walk you through the step-by-step process of adjusting hydraulic brakes on an electric bike. Whether you’re a seasoned bike enthusiast or a newbie to the world of electric bikes, we’ve got you covered. With our easy-to-follow instructions and friendly guidance, you’ll be able to adjust your hydraulic brakes like a pro in no time. Let’s get started!

Tools and Materials Needed
To adjust hydraulic brakes on your electric bike, you will need the following tools and materials:
Allen wrench set
This set will be necessary for loosening and tightening bolts on your brake system. Make sure you have a variety of sizes to accommodate different bolt heads.
Torx wrench set
Some brake systems use Torx bolts, so having a Torx wrench set will ensure that you have the right tools for the job.
Hydraulic brake fluid
It’s essential to have the correct hydraulic brake fluid for your specific brake system. Check your bike’s manufacturer instructions or consult with a professional to determine the right type of fluid for your electric bike.
Bleed kit
A bleed kit is necessary for bleeding air from your brake system and ensuring proper brake performance. It typically includes syringes, hoses, and other components needed for the bleeding process.
Clean cloth
Having a clean cloth on hand will help you wipe away any excess brake fluid or dirt during the adjustment process.
Understanding Hydraulic Brakes
Before diving into the adjustment process, it’s important to have a basic understanding of how hydraulic brakes work and their advantages over mechanical brakes.
How hydraulic brakes work
Hydraulic brakes rely on the force exerted by hydraulic fluid to transmit pressure from the brake lever to the caliper. When you squeeze the brake lever, the fluid pressure increases, causing the brake pads to engage the rotor and bring the bike to a stop.
Advantages of hydraulic brakes over mechanical brakes
Hydraulic brakes offer several advantages over mechanical brakes. They provide more precise modulation, meaning you have greater control over the braking force applied. Hydraulic brakes also require less maintenance, as there are no cables to stretch or adjust. Additionally, they offer better braking power, making them ideal for electric bikes that may be heavier or have higher speeds.
Components of hydraulic brakes
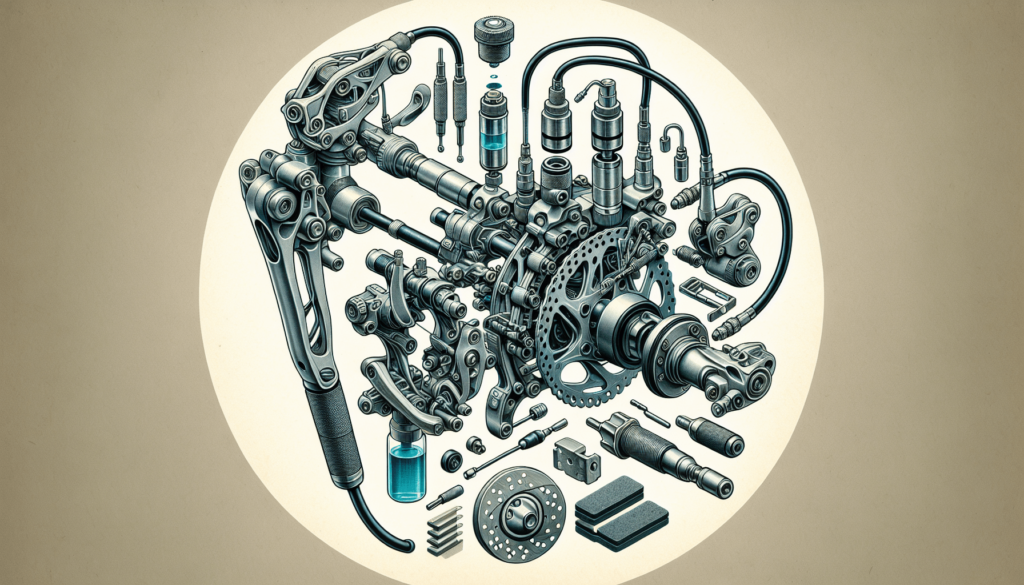
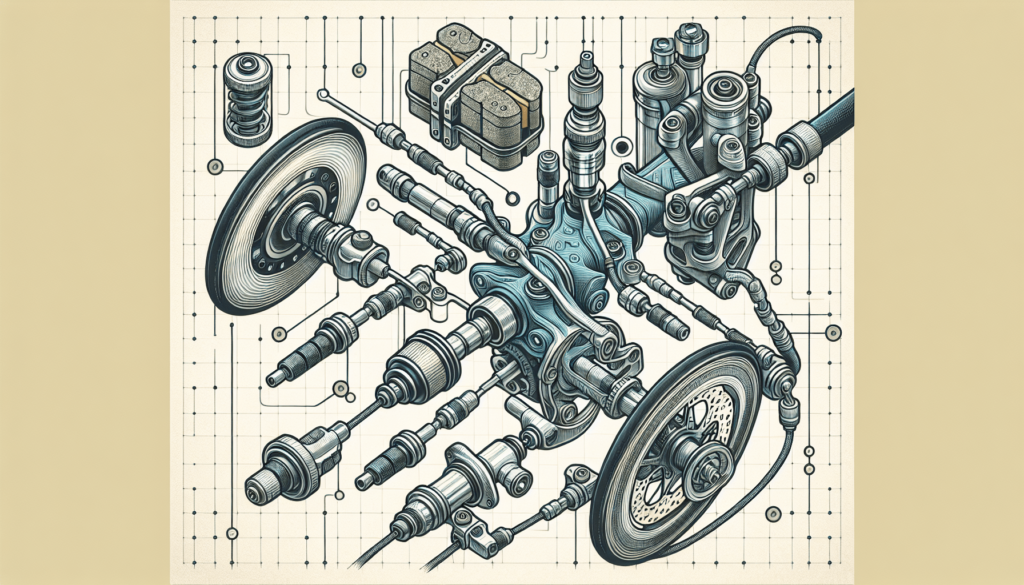
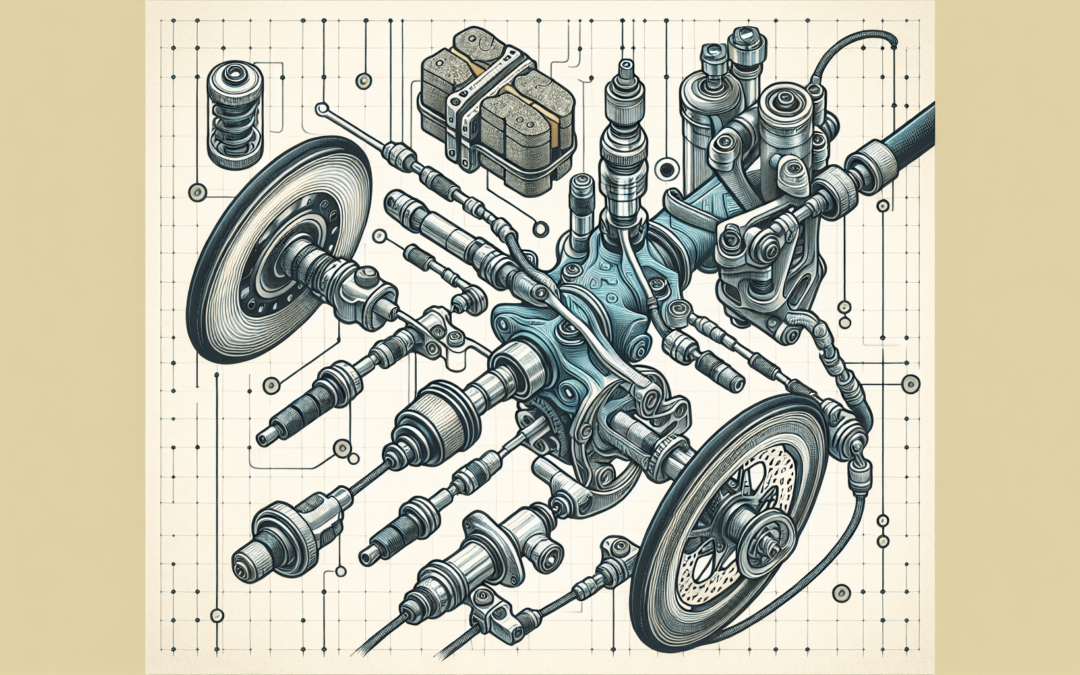
Key components of hydraulic brakes include the brake lever, hydraulic hose, caliper, brake pads, rotor, and hydraulic fluid. Understanding each component’s function will help you identify potential issues and make adjustments more effectively.
Identifying the Need for Brake Adjustment
Before making any adjustments, it’s important to identify if your electric bike’s hydraulic brakes require adjustment. Pay attention to the following signs:
Spongy or soft brake lever feel
If your brake lever feels spongy or soft when you squeeze it, this may indicate air in the brake system or the need for fresh brake fluid. Adjustment may be necessary to restore the firmness of the brake lever.
Brake lever travel is too long
If the brake lever has excessive travel before the brakes engage, it could mean that the brake pads need adjustment, or there is air in the system that needs bleeding. A shorter brake lever travel ensures quicker and more responsive braking.
Brakes not engaging properly
If you find that your brakes are not engaging as expected, such as requiring excessive force on the lever or not providing adequate stopping power, adjustment may be needed. This could involve aligning the brake pads correctly or adjusting the bite point.
Brake pads worn unevenly
Inspecting your brake pads regularly will help you determine if they are wearing evenly. If one pad is significantly more worn than the other, it’s a sign that your brake pads need adjustment. This can be done by realigning the pads or replacing them if necessary.
Preparation
Before diving into the adjustment process, it’s important to prepare your bike and the brake system for the task at hand.
Secure the bike
Ensure that your electric bike is secured on a bike stand or other stable surface. This will allow you to work on the brake system more comfortably and with better access.
Clean the brake caliper and rotor
Using a clean cloth, gently wipe down the brake caliper and rotor to remove any dirt or debris. This step will help ensure optimal braking performance and prevent contamination of the brake fluid.
Check brake fluid level
Locate the brake fluid reservoir on your brake system and check the fluid level. If it is below the recommended level indicated on the reservoir, you may need to add more brake fluid. Consult your bike’s manufacturer instructions for the correct type of fluid and proper filling procedure.

Adjusting Brake Lever Reach
The brake lever reach refers to the distance from the handlebar grip to the brake lever. Adjusting the reach will ensure that the brake lever is within comfortable reach for your hand size.
Locate the reach adjustment screw
Depending on your specific brake system, the reach adjustment screw may be located on the brake lever itself or within the lever body. Refer to your bike’s manufacturer instructions to locate the precise position of the screw.
Loosen or tighten the reach adjustment screw
Using the appropriate Allen or Torx wrench, loosen or tighten the reach adjustment screw to achieve the desired position. Loosening the screw will bring the lever closer to the handlebar grip, while tightening it will extend the reach.
Test and fine-tune the lever reach
After making adjustments to the reach, test the brake lever to ensure it is within a comfortable reach for your hand size. Fine-tune the lever reach as necessary until it feels comfortable and allows you to apply the desired braking force without strain.
Adjusting Brake Bite Point
The bite point refers to the position where the brake pads engage the rotor when you squeeze the brake lever. Adjusting the bite point allows you to customize the brake lever feel and the moment at which the brakes engage.
Locate the bite point adjustment knob
The bite point adjustment knob is usually located on the brake lever or the master cylinder. Consult your bike’s manufacturer instructions to determine the precise location of the knob.
Adjust the bite point
Using a suitable tool, turn the bite point adjustment knob clockwise or counterclockwise to move the bite point closer or further away from the handlebar grip. Experiment with different positions to find a bite point that feels most comfortable and responsive to your braking style.
Test and fine-tune the bite point
After making bite point adjustments, test the brakes to ensure they engage at the desired position. Fine-tune the bite point as necessary to optimize the lever feel and brake performance.
Brake Pad Adjustment
Proper brake pad adjustment is crucial to ensure optimal braking performance and prevent premature wear. Take the following steps to adjust the brake pads on your electric bike’s hydraulic brake system.
Inspect the brake pad wear
Visually inspect the brake pads and ensure they have sufficient thickness. If the pads are worn down beyond the recommended thickness or show uneven wear, they may need to be replaced. Additionally, check for any contaminants on the pads or rotor that could affect braking performance.
Adjust the brake pad position
Using the appropriate tool, adjust the position of the brake pads within the caliper to ensure they are aligned with the rotor. This will ensure even contact between the pads and the rotor, resulting in consistent braking power.
Align the brake pads with the rotor
Properly aligning the brake pads with the rotor is essential for optimal braking. Gently squeeze the brake lever and observe the contact between the pads and the rotor. If there is any uneven contact or rubbing, adjust the position of the pads until they are aligned and make consistent contact across the entire rotor surface.
Bleeding the Brake System
Bleeding the brake system is necessary to remove any air bubbles that may have entered the system. Air bubbles can compromise brake performance and result in a spongy brake lever feel. Follow these steps to bleed your electric bike’s hydraulic brake system.
Why bleeding is necessary
Over time, air can enter the brake system, typically through the brake lever or caliper connections. Bleeding removes this air and ensures that only hydraulic fluid is present, allowing for consistent and reliable braking performance.
Using a bleed kit
A bleed kit typically includes a syringe, hose, and other components needed for the bleeding process. Follow the instructions provided with your specific bleed kit, as the bleeding process may vary slightly depending on the kit.
Steps to bleed the brake system
- Begin by attaching the bleed kit to the brake lever or caliper bleed port, following the manufacturer instructions.
- Open the bleed port on the brake lever or caliper and slowly pump the brake lever or depress the caliper piston to push out any air bubbles in the system.
- As you pump the lever or depress the piston, use the syringe from the bleed kit to draw out any air bubbles and excess fluid. Refill the syringe with fresh brake fluid as needed.
- Repeat the pumping and bleeding process until all air bubbles are eliminated, and only pure brake fluid is present.
- Close the bleed port and ensure all connections are secure.
- Test the brake lever feel and performance to verify successful bleeding.
Checking and Adjusting Brake Fluid Level
Maintaining the correct brake fluid level is crucial for optimal brake performance. Follow these steps to check and adjust the brake fluid level on your electric bike.
Locate the brake fluid reservoir
The brake fluid reservoir is typically located near the brake lever or on the master cylinder. Refer to your bike’s manufacturer instructions to locate the precise position of the reservoir.
Check the fluid level
Inspect the fluid level in the reservoir and ensure it is between the minimum and maximum markers. If the fluid level is below the recommended level, you may need to add more brake fluid.
Adding or removing brake fluid
Consult your bike’s manufacturer instructions to determine the appropriate brake fluid type and filling procedure. Carefully add brake fluid to the reservoir, being cautious not to overfill. If the fluid level is too high, use a clean syringe or absorbent cloth to remove excess fluid.
Regular Maintenance for Hydraulic Brakes
To ensure your electric bike’s hydraulic brakes perform optimally, regular maintenance is key. Here are some maintenance tasks to perform periodically.
Cleaning the brake caliper and rotor
Regularly clean the brake caliper and rotor to remove any dirt, debris, or brake dust that could affect braking performance. Use a clean cloth or a specialized brake cleaner spray to gently wipe down these components.
Replacing brake pads
Brake pads wear down over time and should be replaced when they reach the minimum recommended thickness. Inspect your brake pads regularly and replace them if necessary to maintain consistent braking power.
Periodic bleeding of the system
Over time, air may enter the brake system, necessitating periodic bleeding. Follow the bleeding steps outlined earlier to remove air bubbles and ensure optimal brake performance.
By following these steps and performing regular maintenance, you can ensure that your electric bike’s hydraulic brakes provide reliable and precise stopping power. Remember to consult your bike’s manufacturer instructions for specific guidance tailored to your electric bike’s brake system. Happy riding!


